EBSI VECTOR Business Registry
Create your account
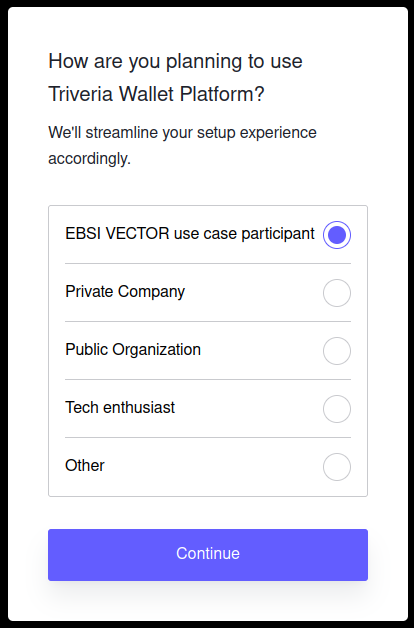
- Start your registration at https://wallet.prod.triveria.com. After you provide your email and password, you will be prompted to select your Account Type. Select "EBSI VECTOR" option and confirm. No further info will be required.
Configure and create wallets
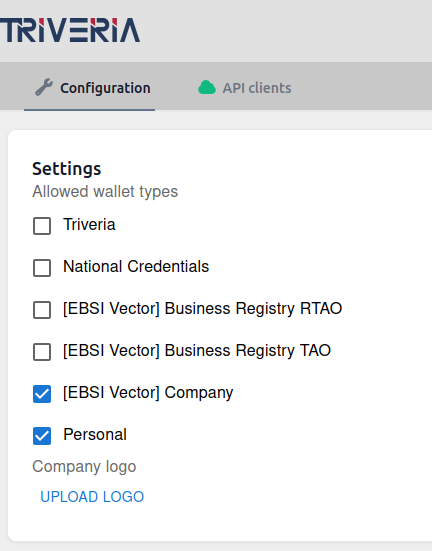
- Select the required wallet types at https://wallet.prod.triveria.com/settings
- When you are a participating company, select "[EBSI Vector] Company" and "Personal"
- When you are a Registrar, select "[EBSI Vector] Business Registry TAO"
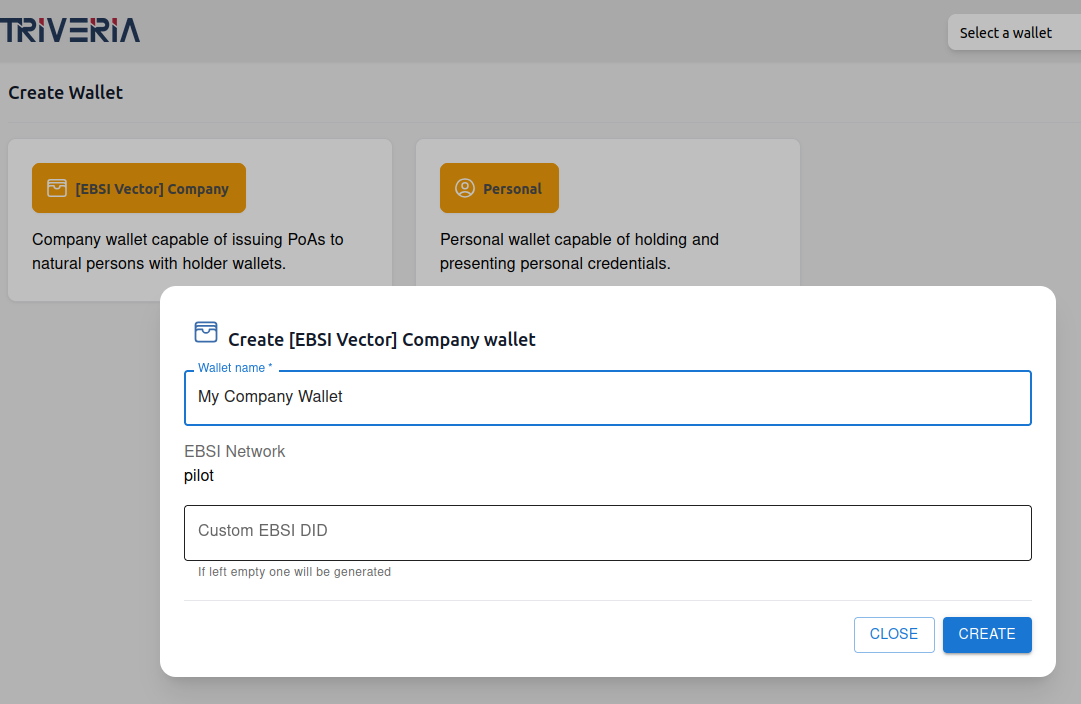
- Create the needed wallets at https://wallet.prod.triveria.com/wallet
Prepare for onboarding
- Schedule the initial onboarding meeting with the Root TAO wallet operator (for this use case it is IDunion SCE).
- For the meeting:
- Have your Company incorporation documents ready to be presented
- Decide if you wish to use digital twin of your passport during the pilot and inform about your decision during the meeting
- Make sure you have successfully created the wallets you need for the participation in the pilot
The onboarding
The onboarding process includes:
- A formal procedure part of which is the proof of incorporation and company representation
- Onboarding to the EBSI pilot network (DID Registry and Trusted Issuer Registry)
- Onboarding to the Business Registry use case by issuing Organizational Digital Identifier and publishing its VP
- Informal discussion mainly related to open questions the participant might have
EBSI
Share your DID
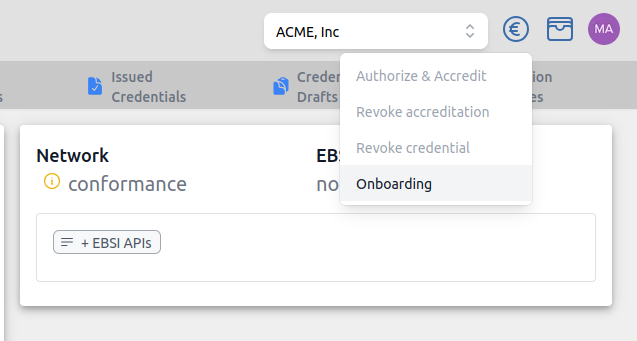
In order to start the onboarding process the Root TAO wallet operator needs the DID of your wallet. To obtain this information open the Onboarding Wizard from the "Euro" menu on the top left.
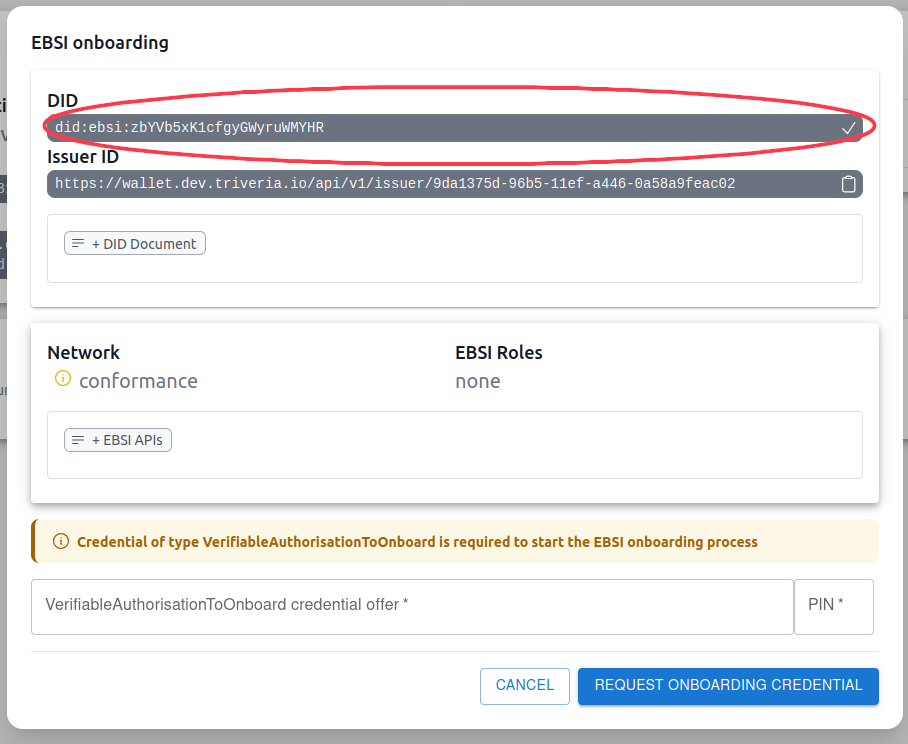
Copy the DID by clicking the "copy" icon next to the DID field and share its value with the RTAO operator.
Onboard to DID Registry
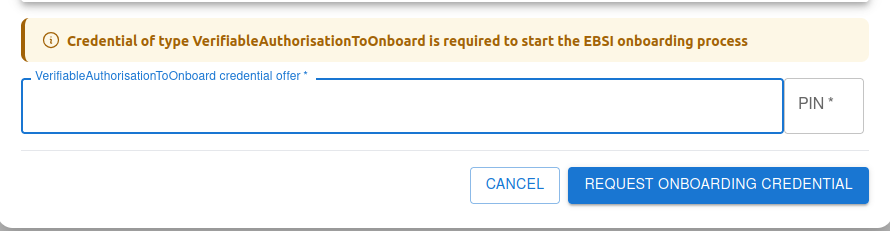
The RTAO operator will share a credential offer URL and PIN with you. Insert these values into input fields at the bottom of the Onboarding Wizard and hit the "Request Onboarding Credential" button.
When the credential is received it will be listed on the bottom of the Onboarding Wizard along with "Onboard DID to EBSI" action button. Proceed by hitting the button and wait until the process finishes.

Onboard as Trusted Issuer
After your wallet DID gets onboarded to the EBSI DID Registry you will receive Attestation credential offer URL and PIN to onboard as Trusted Issuer. Insert these into the input fields at the bottom of the Onboarding Wizard and hit "Accept Credential".
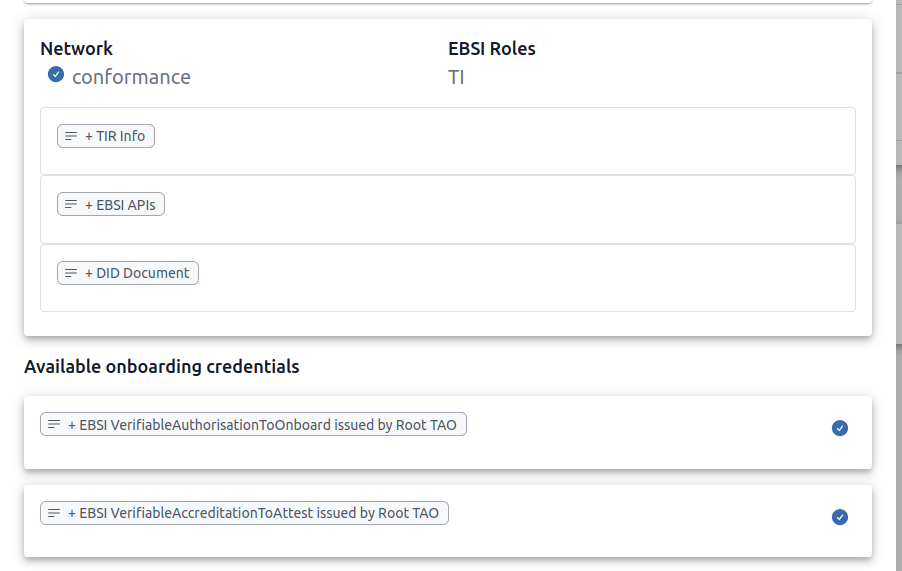
When the credential is successfully accepted it will be listed on the bottom of the Onboarding Wizard with "Accredit as TI" action button. Proceed by hitting the button and wait until the process finishes.

Onboarding is done.
Director's Passport Digital Twin
If you decided to use your passport digital twin during the pilot you will need to digitize it. We will handle this process during our meeting.
Organizational Digital Identifier
Organizational Digital Identifier (ODI) is a verifiable credential that your company will receive from the Root TAO issuer which in the business registry use case represents the role of a Company Registry.
Accept ODI
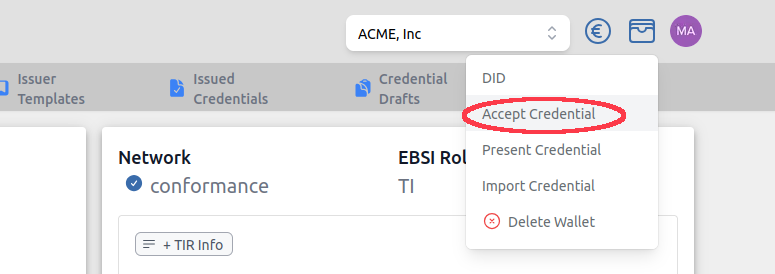
Open the "Accept Credential" dialogue from the Wallet Menu.
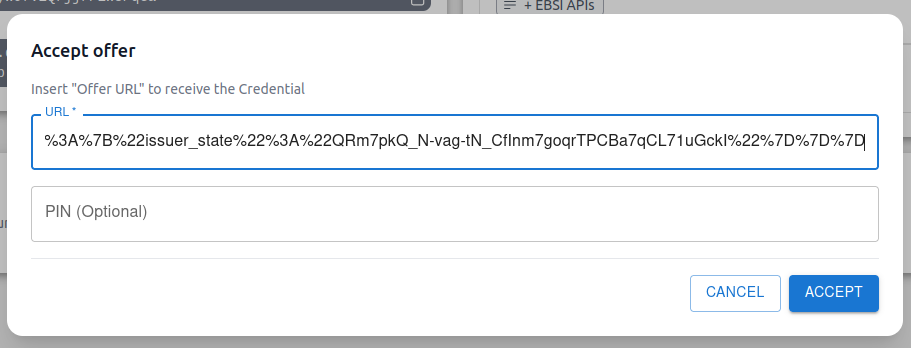
A modal window will pop up with input fields to enter the offer URL and PIN. Enter the URL that was provided by the Root TAO operator and hit "Accept".
If you opted for the passport digital twin authentication option you will be prompted to present your digital passport during the interaction. Select the option and hit "Accept".
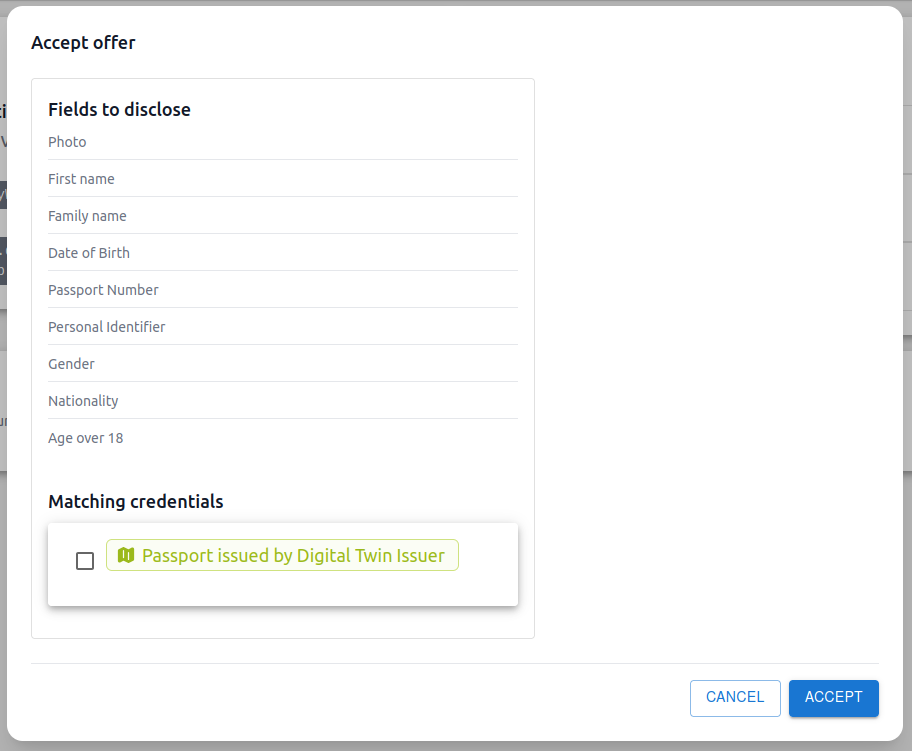
In case you authenticated via manual process with the Root TAO operator, you will receive the ODI verifiable credential without this extra step.
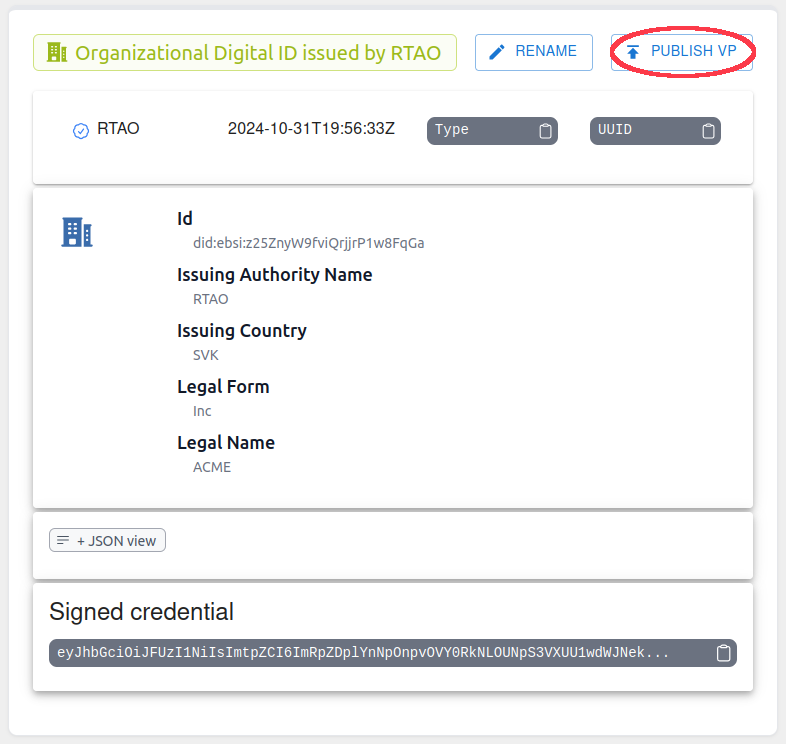
Publish ODI via DID Document
When you received the ODI verifiable credential the last step of the onboarding process is to publish its verifiable presentation so that it is available for the verification process. You can do so by hitting the "Publish VP" action.